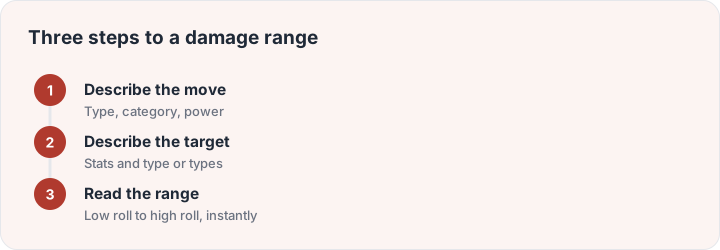
How to use this calculator
You never need to type a number: pick the move type, tap how strong your attacker is, pick the defender’s types and how tanky it looks — the damage range updates on every tap. The three chips rows cover the realistic spread of real teams, and if you do have the exact numbers from the game’s summary screen, the advanced fold at the bottom accepts them and overrides the estimate.
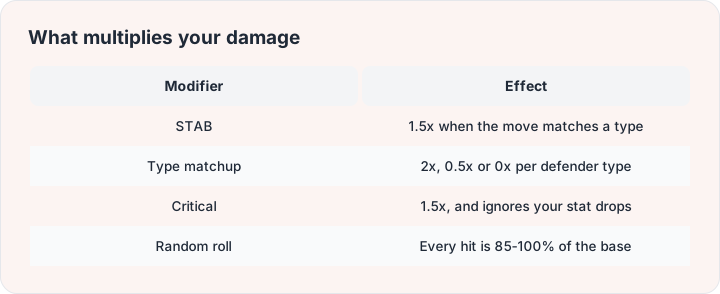
The two inputs that matter most are the move type against the defender’s types and the attacker-versus-defender stat ratio — which is exactly what the strength and bulk chips encode. Everything else modifies around those: STAB adds half again when the move matches your own type, a critical hit adds half more, weather boosts or cuts the elemental moves you would expect, and the ability-change box covers the common “I already used a Swords Dance” case. The result shows the full range because every hit rolls a random factor from 85% to 100% — the low end is the unlucky roll, the high end the lucky one.
Reading the result like a player
The percentage line converts the damage into the defender’s HP, which is how battles are actually planned. Below 30% is pressure; above 50% is a real threat; at 100% or more the label switches to OHKO — one hit knocks out. Two hits to knock out (2HKO) is the standard planning unit for battles, so the label tells you which side of that line you are on. Remember the defender’s bulk changes the answer more than anything else: the same attack that two-shot-KOs a frail target might barely scratch a wall — that is exactly what the bulk chips are for.
When a result confuses you — why does water do almost nothing there? — check the interactive type chart with the defender’s types, and the damage formula walkthrough explains each multiplier in plain language. For the numbers behind your stats themselves (why is my Attack 100 and not 150?), the natures, IVs and EVs guide unlocks that whole layer. And once you are planning more than one attack at a time, the team building guide is the next step up.